

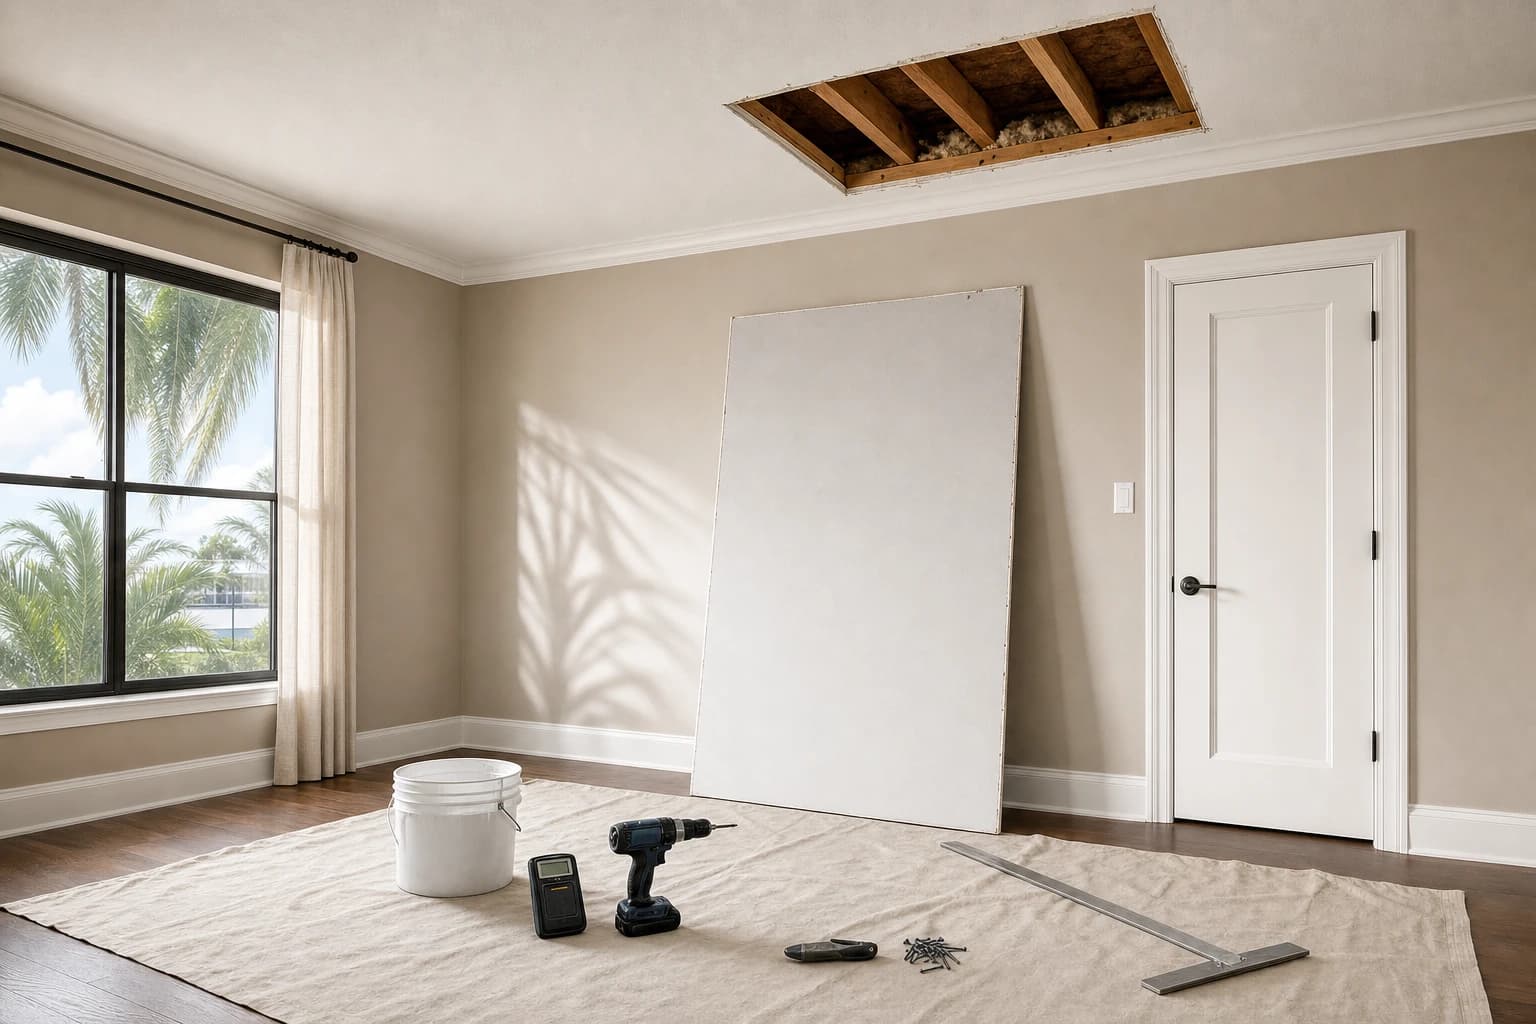

My Ceiling Is Wet and Sagging. What Do I Do First?
Stop the water, drain the bulge, and stay out from under it, in that order. Take a breath first. None of this needs special tools, and what you do in the first two days decides how much ceiling you lose. Wet drywall keeps getting heavier and softer as long as water feeds it. The paper face is where mold gets its start.
One homeowner this month propped up a sagging ceiling, about six feet by eight, with a board while the roof kept leaking. That is the instinct to resist. Here is what to do instead.
- 1
Stop the water
If the wet spot lines up with the roof or the attic, call a roofer. If it sits under a bathroom, a kitchen, a laundry room, or the air handler, call a plumber or your air conditioning company. In Florida a clogged AC drain line causes as many ceiling stains as roofs do. We repair the ceiling. We do not fix roofs or plumbing, and nothing else matters until the water has stopped.
- 2
Drain the bulge, do not prop it
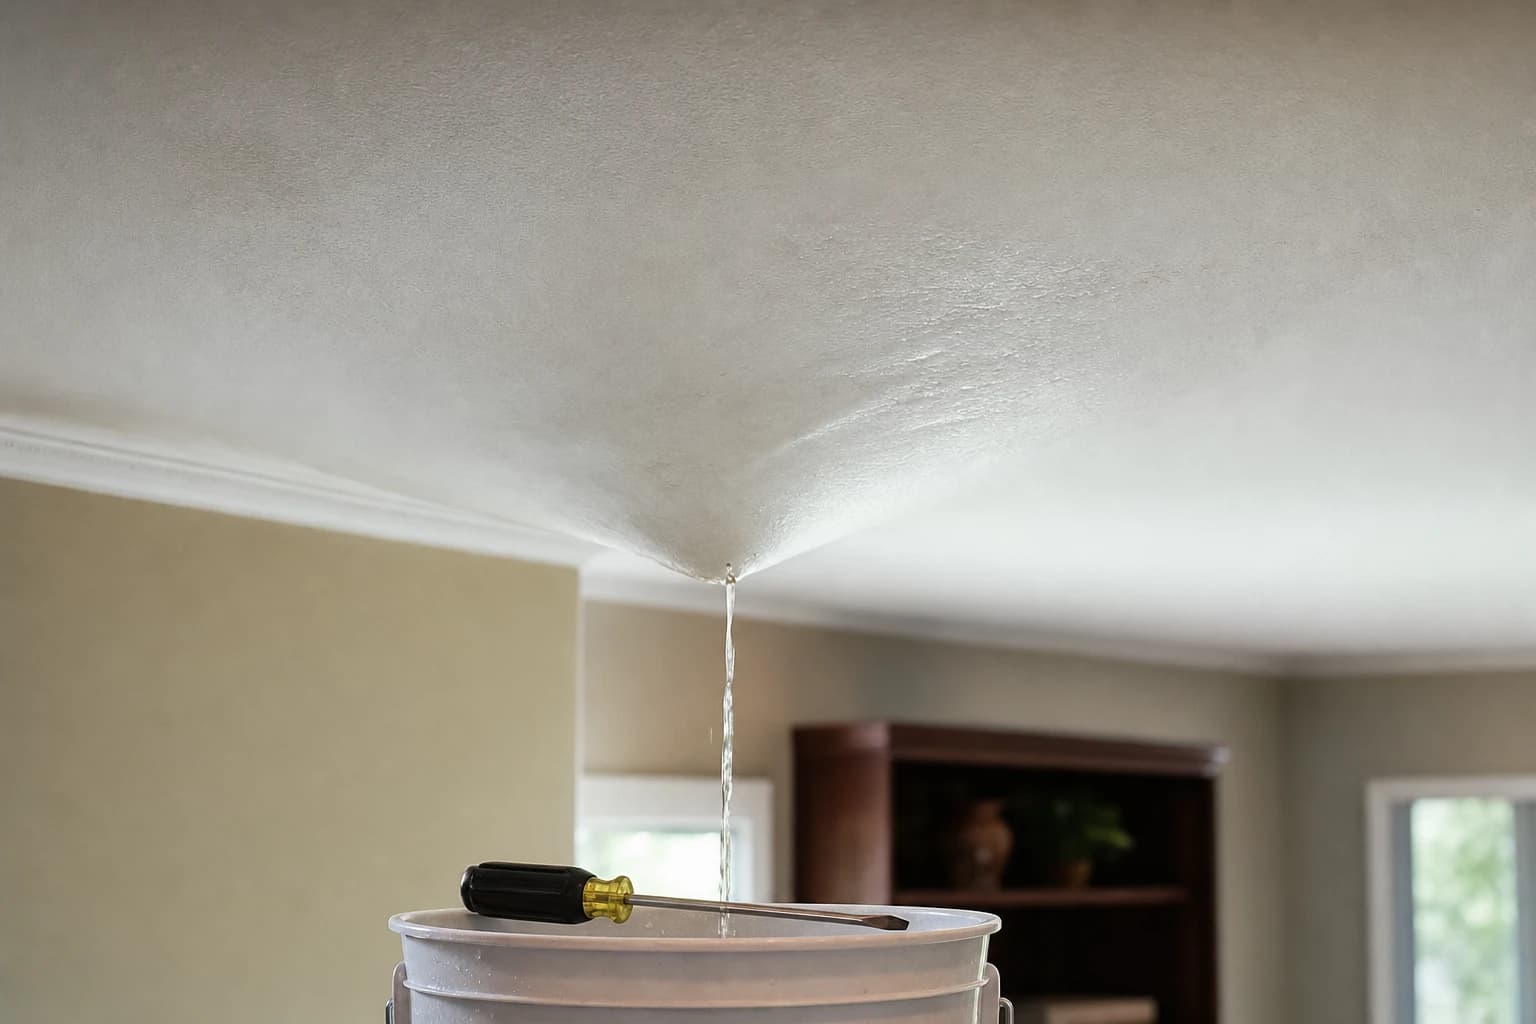
A ceiling that bulges is holding standing water. Put a bucket under the lowest point, stand to the side, and poke a small hole with a screwdriver. The water drains in a controlled stream instead of letting go all at once along a seam. A prop does not save the board. The screws are already pulling through soft gypsum, and the prop only picks where it fails.
- 3
Keep people out from under it
If the sag is large, if cracks are spreading, or if the wet area sits over a bed, a crib, or a busy hallway, close the room. Saturated ceiling board drops without much warning.
- 4
Kill the circuit if a fixture is wet
Water running through a light fixture or a fan box is an electrical problem before it is a drywall problem. Flip the breaker for that room and leave the switches alone until the fixture has been checked.
- 5
Move air
Once the water has stopped, run fans across the wet area and a dehumidifier in the room. That will not save saturated board, but it keeps damp board from turning into moldy board while the repair is scheduled.
Is It Just a Stain, or Is the Drywall Ruined?
Press it gently, and you will know. A water stain on a ceiling that is still flat and firm is a cosmetic fix. Board that sags, feels spongy, or crumbles at the edge of the stain has lost its strength and comes out.
Take a screwdriver and press the tip into the stained area. Firm means the board can stay. Sinking in means that section gets replaced. The shape of the stain also points at where the water came from, and that decides who you call first.
| What you see | What it usually means | What happens next |
|---|---|---|
| Brown or yellow ring, board firm | A dried stain from a leak that has stopped | Clean with mild detergent, stain-blocking primer, ceiling paint |
| Bulge or sag between joists | Saturated board holding water | Drain it, cut the section out, replace the board |
| Soft, spongy, or crumbling at the edge | Gypsum core has failed | Cut back to dry, firm board and to the joists |
| Stain grows after every rain | Roof leak | Roofer first, then ceiling repair |
| Round spot under an upstairs bathroom | Plumbing issue, sometimes a burst pipe | Plumber first |
| Straight line along a duct run or under the air handler | AC condensate or drain line | AC tech first |
| Dark patches, musty smell, peeling paint over a wide area | Long-running leak, likely mold in the cavity | Mold inspector before the ceiling is closed |
What you see, what it means, what happens next
Peeling paint around a water spot gets scraped first. If the board under it passes the screwdriver test, it gets the stain treatment and nothing more.
Of 55 estimate requests pulled from our website between August 12 and September 3, 2026, twelve were drywall, ceilings, or water damage. Whatever your ceiling looks like right now, our handymen have opened one just like it.
How Is a Water-Damaged Ceiling Repaired?
Back to dry framing, then new board. Not a skim of compound over a stain and a coat of paint, which is what a lot of homeowners get and what fails the next humid month. Here is what happens once our drywall repair team is in the room.
- 1
Cut back to dry material
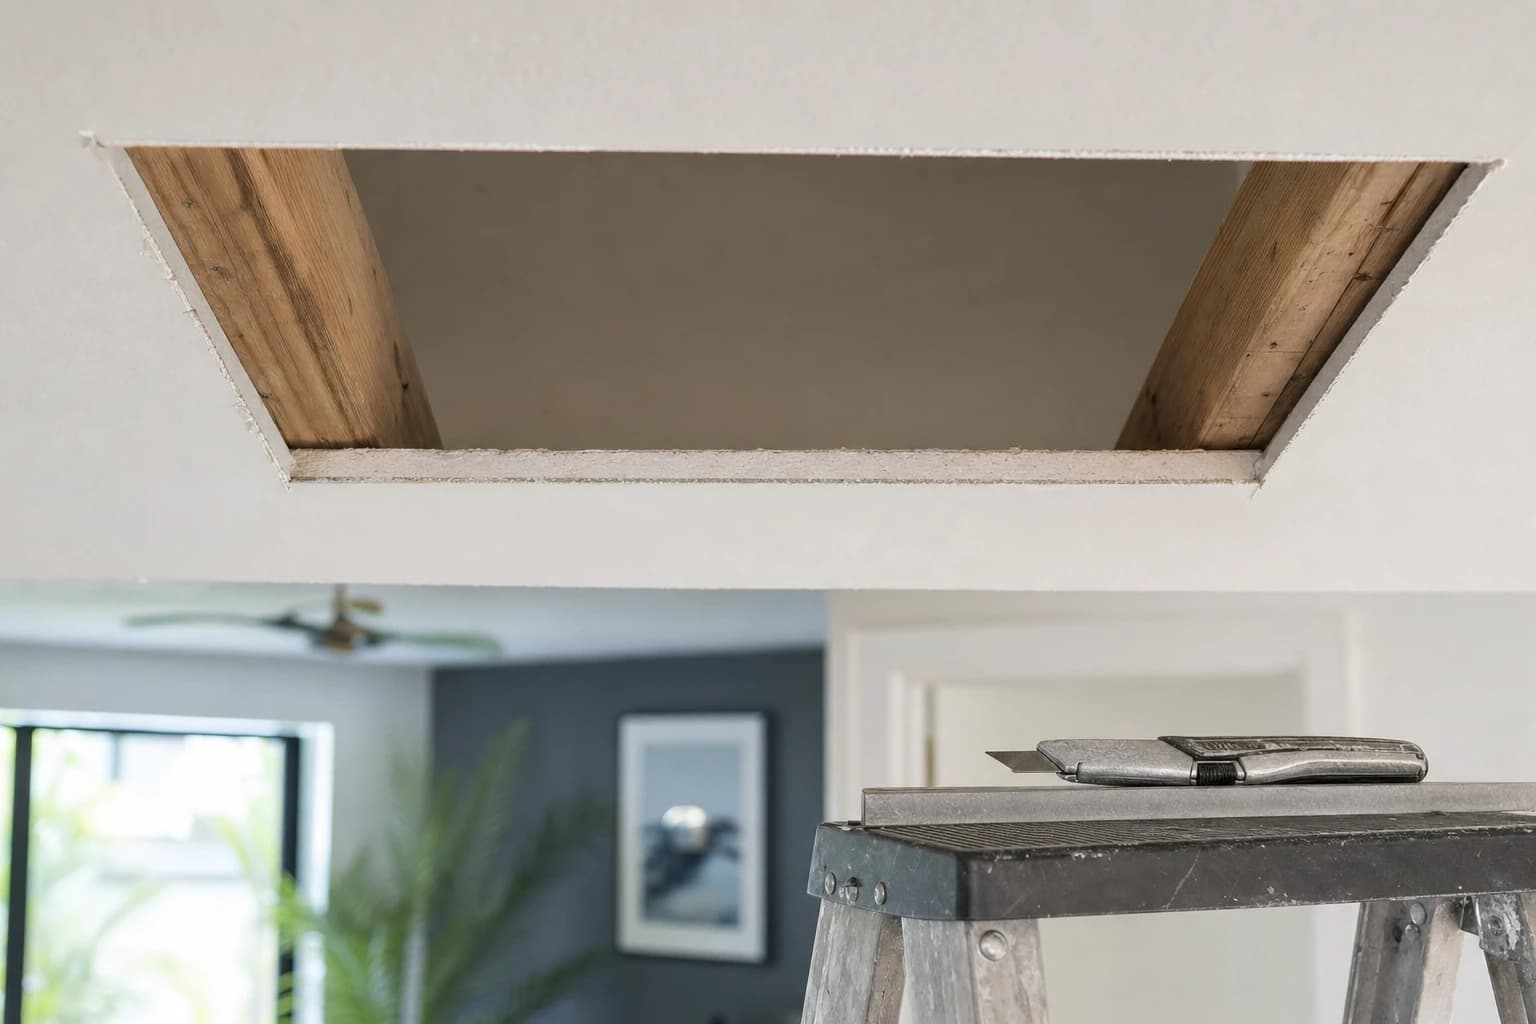
The damaged area comes out as a clean square or rectangle, back to board that is dry and firm and to the joists on either side. That gives the new piece something to screw to. Ragged edges are squared, not chased.
- 2
Dry the cavity and check the insulation
With the ceiling open, the framing above gets time and airflow to dry. We check it with a moisture meter until it reads dry before closing anything. Wet insulation comes out, because it holds water against the wood and the new board. Dry insulation stays.
- 3
Hang the new board
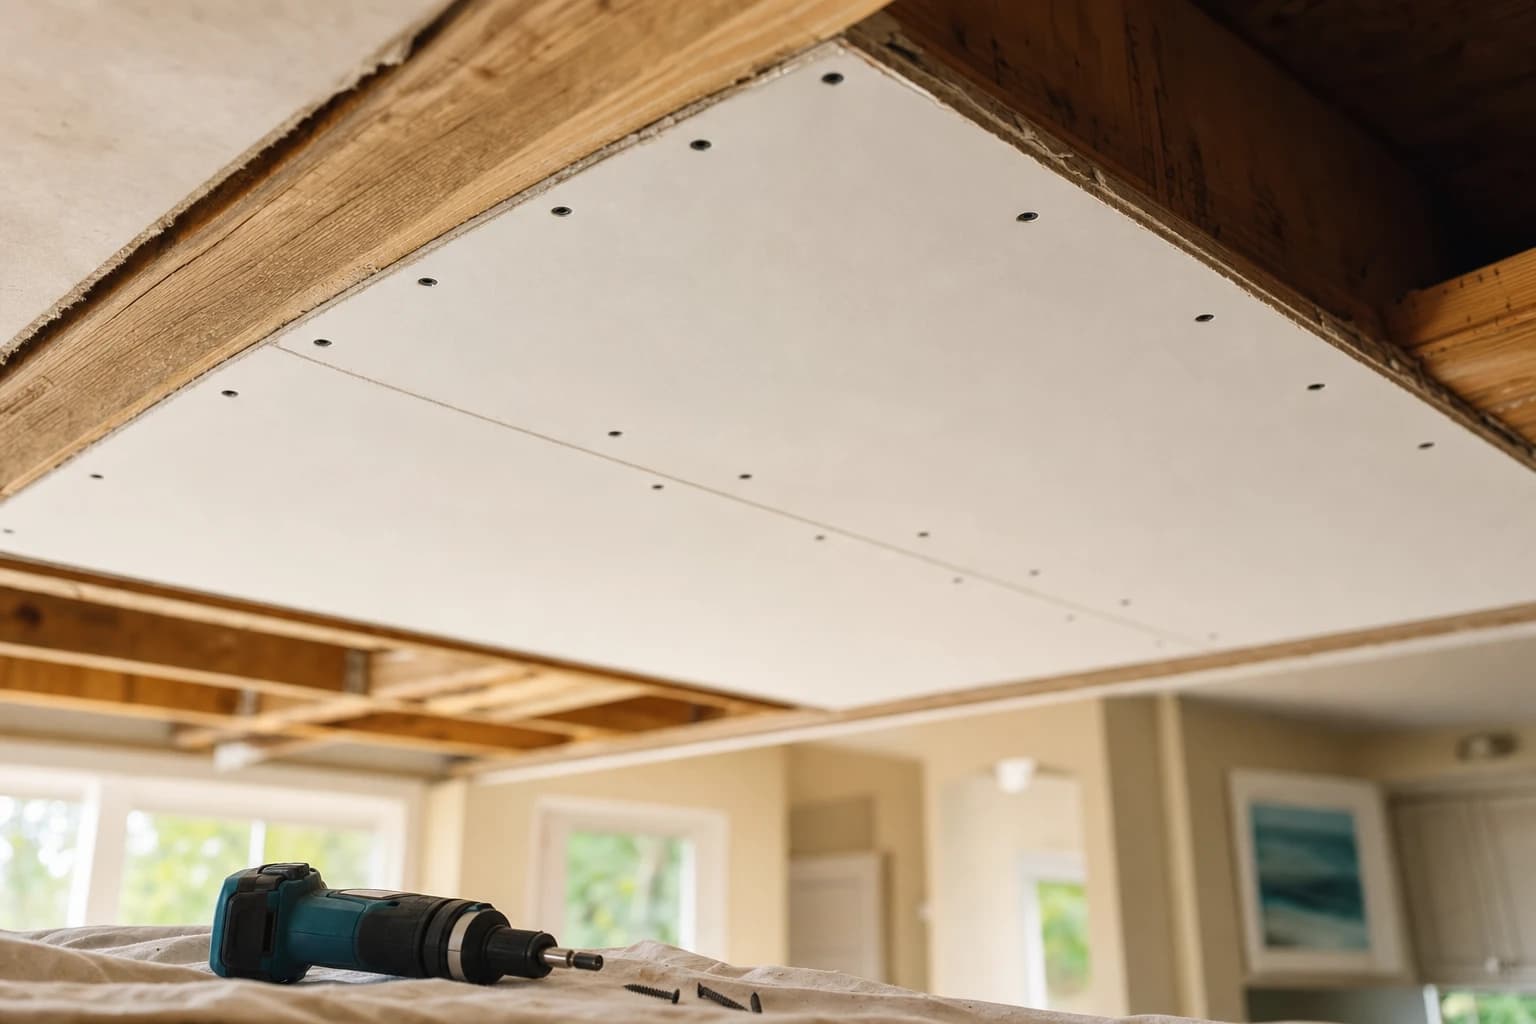
New ceiling drywall of the same thickness is cut to the opening and screwed to the joists, or to backing we add where the joists sit too far apart. Every edge is supported. Screw heads sit just below the surface without breaking the paper.
- 4
Tape, then joint compound
Tape goes over every seam. Then joint compound in thin coats, each one wider than the last, so the patch feathers into the old ceiling. A second coat is normal. A third is common on a ceiling, because window light rakes across it and shows everything.
- 5
Prime with a stain blocker, then paint
After sanding, the whole repair gets a stain-blocking primer so nothing left in the old board bleeds through. Then ceiling paint, usually flat, and often the entire ceiling rather than a patch, so the sheen matches wall to wall.
How Do You Match Knockdown, Orange Peel, or Smooth Ceiling Texture?
By matching the method, not by dabbing on compound. The cutting and screwing is the easy part. Making the new work disappear is the craft, and in Florida that means matching the texture.
- Knockdown is the most common texture in homes and condos built in the last few decades. It is sprayed on heavy and then flattened with a wide knife after it sets up for a few minutes. The timing and the knife angle decide whether it matches. One request this month, to strip and redo the knockdown in a bedroom and a hallway, is a full-room job for that reason.
- Orange peel is a fine, even bump from a texture gun. Matching it comes down to the mix, the nozzle, and the air pressure.
- Smooth ceilings look simple and are the least forgiving. Every ridge shows under raking light, so the patch gets skim-coated wider and sanded more than any textured repair.
- Popcorn ceilings from before the mid-1980s get tested for asbestos before anyone scrapes or sands them. That is not optional. In an older house, popcorn ceiling removal is a conversation before it is a repair, and we are glad to have it with you.
Do I Need a Patch, a New Sheet, or a Whole New Ceiling?
It depends on how far the water traveled, and you do not have to decide that alone. A patch is enough when the leak stained and softened one corner, one round spot, or the area around one vent, and the board around it passes the screwdriver test. On a flat wall a patch that size is a fair Saturday job, and patching drywall yourself is a good place to start. On a ceiling it is a call, because the light rakes across it and shows every ridge.
A whole sheet goes when the board sags between joists across most of its span, when several stains connect, or when the screwdriver sinks in at more than one spot on the same sheet. Cutting to the next joist and replacing the larger piece is stronger and faster than stitching in strips.
A whole room gets a new ceiling when an older house has had leak after leak and the ceiling is already a patchwork. New board across the room, one texture, and one coat of paint costs less over the years than the next three patches. It also looks like a ceiling instead of a repair history. We lay out those options at the estimate and say which one we would pick for our own house.
What About Mold?
Any drywall that stays wet in a Florida house is going to grow something, and growth inside a closed cavity is the part nobody can see from the floor. What we handle: a little mildew on the paint that cleans off during prep, light staining on the back of a small patch we remove, and framing that just needs to dry before new board goes up.
What we stop for: heavy growth on the framing when we open the ceiling, large dark patches inside the cavity, or a strong musty smell that says the leak has run far longer than anyone thought. At that point we ask you to bring in a licensed mold inspector, who can test, write a protocol, and get the cavity cleared. We do not test for mold and we do not certify a house as mold-free. Once that work is done and the cavity is dry, we come back and close the ceiling.
Never paint over mold. Primer and ceiling paint hide it for a month. Then it comes back through, and by then the board behind it is worse.
How Do I Get a Ceiling Repair Estimate?
Once the water has stopped, send the form on this page or call 800-931-1106 with photos. A person answers the phone, and a message gets a call back within one business day. Our estimator looks at the room, checks the attic or upstairs side if needed, and tells you whether you are looking at a stain, a patch, a sheet, or a room. The scope and the price go in writing before work starts: tear-out, new drywall, tape and mud, texture match, stain-blocking primer, and paint. The quote you approve is the bill you get.
Estimates are free. Our own employees do the work, not a subcontractor, and every repair carries a one year warranty. If something we did is not right, we come back and make it right. Our six offices in Tampa, Orlando, Jacksonville, Clearwater, Sarasota, and Melbourne send craftsmen who live in the community they work in. Many homeowners send our written estimate to their insurer. What the policy covers is between you and the insurance company. Whatever the ceiling looks like tonight, water damage repair is a call we are glad to take, and whatever else is on your list, our handyman services cover the rest of the house in the same visit.