What Do I Need to Repair Drywall?
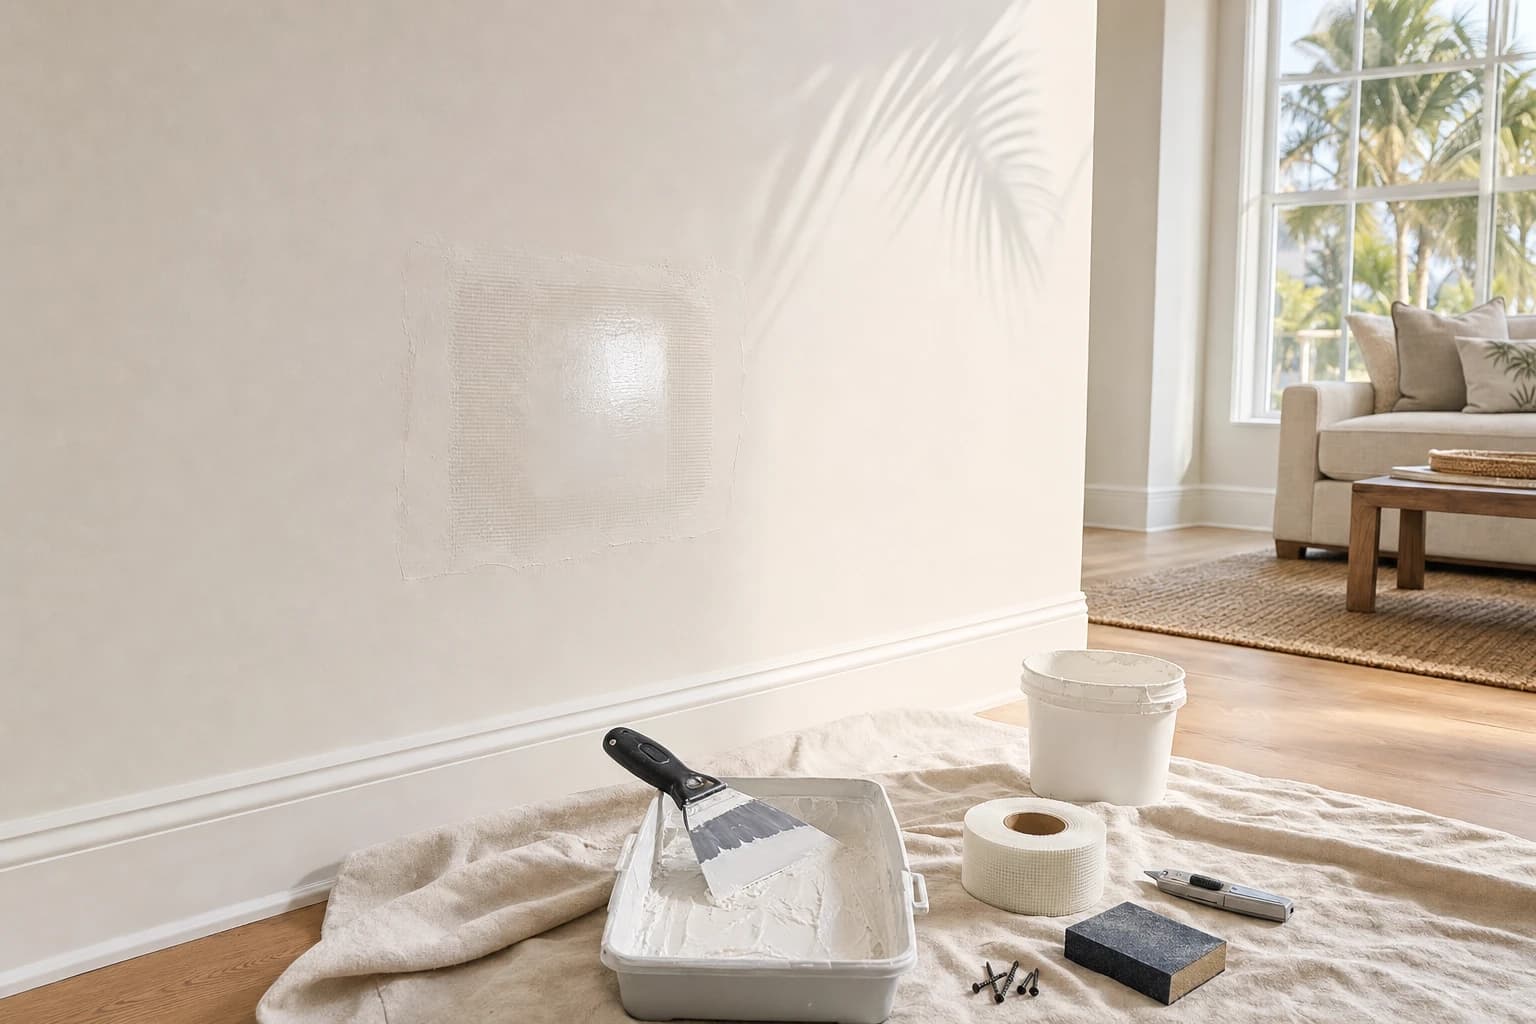
Less than you think. Most drywall repair needs under twenty dollars of materials, and buying the right ones matters more than buying a lot. Here is what rides on our truck for patch work, and what each size of job actually needs.
- Lightweight spackle for nail holes and dents under a quarter inch. All-purpose joint compound, also called drywall mud, for everything bigger. Spackle shrinks less and dries fast. Joint compound sands smoother and feathers wider.
- A 2-inch putty knife for small fills and a 6-inch flexible joint knife for feathering coats. A 10-inch knife if you are taping a large patch.
- A self-adhesive mesh patch, or a drywall patch kit, for holes up to about three inches. Paper joint tape or mesh drywall tape for seams on bigger repairs.
- A utility knife with fresh blades, a drywall saw for cutting openings, and a tape measure.
- A sanding sponge or fine grit sandpaper, 150 to 220 grit, a dust mask, and a drop cloth. Sanding dust travels.
- Primer. Joint compound soaks up paint differently than the painted wall around it. A patch that skips primer shows through the finish coat as a dull spot. It is the step most first-timers skip and then regret.
- For large holes: a scrap piece of drywall the same thickness as the wall, half inch in most rooms, a few drywall screws, and a strip of wood for backing.
- 1
Clean the damage
Cut away loose paper and crumbled gypsum so the patch sits on solid wall.
- 2
Fill or patch
Spackle for nail holes and dents, a mesh patch for holes up to a few inches, a drywall plug with backing for anything bigger.
- 3
Coat thin
Three thin coats of joint compound, each wider than the last, dried fully between coats.
- 4
Tape the cracks
Mesh or paper tape over a crack before any compound, or the crack comes back.
- 5
Sand lightly
A sanding sponge and a light hand, feathering the edges so the patch disappears into the wall.
- 6
Match the texture
Spray or knock-down texture blended into the surrounding wall before paint.
- 7
Prime, then paint
Primer on the patch first, or it shows as a dull spot through the finish coat.
The whole repair, start to finish, goes like this. Each step gets its own section below.
How Do I Fill Nail Holes and Small Dents?
In about five minutes, and you will not need help. Nail holes, screw holes, anchor holes, and dents under half an inch are the easiest fix on the list.
Scrape any raised paper or lip flat with the putty knife so the surface is flush. Press lightweight spackle into the hole with the knife. Then drag the blade across at a low angle to leave the fill just proud of the wall. Let it dry completely, an hour for spackle and longer in Florida humidity. Sand it flush with the sanding sponge, wipe the dust off with a damp rag, and prime the spot before paint.
One coat is usually enough for a nail hole. If the fill shrinks back into the hole as it dries, which happens with deeper holes, add a second thin coat rather than one thick one. Thick coats crack. A full walk-through for a wall of picture holes is in how to fix nail holes.
How Do I Patch a Hole With a Mesh Patch?
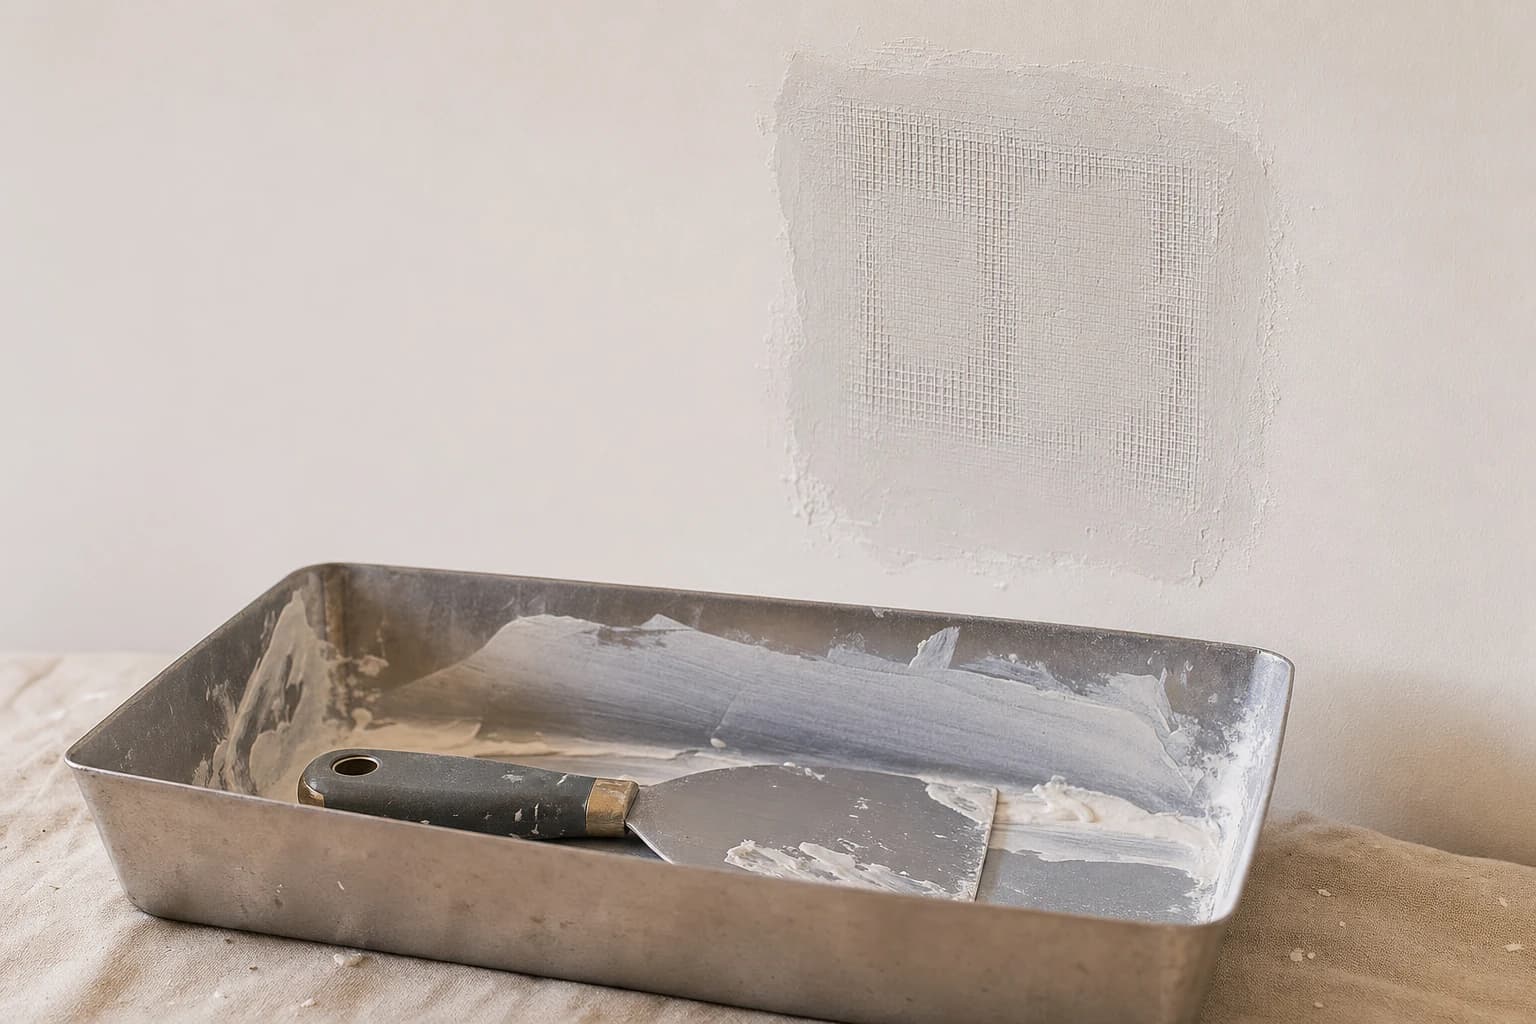
With a square of mesh and three thin coats, and it is easier than it looks. A doorknob strike, a hole from a removed towel bar, or anything from half an inch to about three inches across needs something for the compound to sit on. A self-adhesive mesh patch does that job. It is a square of fiberglass mesh with a thin metal backing that spans the hole.
- 1
Prep the damaged area
Trim loose paper and rough edges back with the utility knife so nothing sticks up past the wall. Frayed edges show through every coat you put over them. Wipe the area so the patch sticks.
- 2
Set the patch
Peel the backing and press the mesh patch centered over the hole, sticky side to the wall, and rub it down firmly. The patch should overlap sound drywall by at least an inch on every side.
- 3
Apply joint compound in thin coats
Spread joint compound over the patch with the 6-inch knife, pressing it through the mesh. Feather the edges out two or three inches past the patch. Keep it thin. Let it dry, then add a second coat feathered wider than the first, and often a third. Each coat needs thirty to sixty minutes of drying at least. On a humid Florida afternoon, give it more.
- 4
Sand, prime, paint
Once completely dry, sand the repaired area smooth with fine grit in a light crisscross pattern. Work from the center out until you cannot feel the edge with your fingertips. Wipe the dust, prime the whole patch, and paint. If the wall has texture, match the texture before you paint.
How Do I Fix a Large Hole in Drywall?
With a new piece of drywall set into a clean opening, screwed to something solid. Past about three inches, a mesh patch will sag and crack. It sounds harder than it is, and it is the repair that separates a patch you can find from one you cannot.
- 1
Square up the hole
Use a stud finder, a magnet, or the knock test to check whether a stud runs behind the damage. A screw or a wire could too, so look into the hole with a flashlight before cutting. If you do not own a stud finder, finding studs without one takes a minute. Draw a clean square or rectangle around the damaged section, then cut it out with the drywall saw. A square opening is far easier to patch than a ragged one.
- 2
Add backing
Cut a strip of wood, a piece of 1x3 or a furring strip, a few inches longer than the opening is tall. Slip it into the cavity behind the drywall and hold it against the back of the wall. Drive drywall screws through the existing drywall into each end of the strip so it is fixed in place. Now there is something solid behind the middle of the hole. If a stud runs along one side of the opening, screw the patch to it directly on that side and back the other.
- 3
Cut and fit the patch
Cut a piece of new drywall the same size as the opening. Measure twice, and aim for a snug fit with no more than an eighth of an inch gap. Set it in and fasten it to the backing with drywall screws, sinking each screw head just below the paper without tearing it.
- 4
Tape and mud the seams
Cover every seam with paper tape or mesh drywall tape, then coat with joint compound. The first coat fills the seams and covers the tape. The second and third feather the edges out several inches so the patch blends into the surrounding wall. Thin coats, full drying between them, and a light sand after each.
- 5
Finish
Final sand with fine grit, wipe, prime the whole repair, match the texture if the wall has one, and paint. A large patch finished this way disappears. The same patch done with one thick coat of mud shows a rectangle in raking light for the life of the house.
How Do I Repair a Crack in a Wall or Ceiling?
First work out which kind of crack it is, because treating the wrong kind is why cracks come back. A hairline crack where the wall meets the ceiling, or in a corner, is usually the joint tape letting go or the house moving a little with the seasons. Fill that one with flexible paintable caulk, not mud. Rigid compound cracks again the next time the framing shifts. Smooth the bead with a damp finger and paint it when it cures.
A crack that runs across the middle of a wall or a ceiling, especially one you can feel a ridge on, is a seam crack. The joint tape under the surface has failed. Scrape the loose compound out and cut away any lifted tape. Then embed fresh paper tape in a thin bed of joint compound, coat it, and feather it out. A ceiling crack is the same process done overhead, which is slower and messier. Protect the floor and expect to wear the dust.
A crack that is wider than an eighth of an inch, keeps growing, or runs diagonally from the corner of a door or window can be a sign of settling or a moisture problem. That one deserves a look from a licensed contractor before anyone fills it.
How Do I Match Orange Peel or Knockdown Texture?
With a can of spray texture from the hardware store, and a little practice first. Almost every Florida home has textured walls, and texture is where do-it-yourself patches get caught. A perfectly smooth patch on an orange peel wall shows up like a bald spot. Spray texture comes in orange peel and knockdown patterns with an adjustable nozzle.
Practice on a piece of cardboard first, because the spray pattern is everything. Hold the can 18 to 24 inches from the wall. Spray lightly past the edges of the repair so the new texture fades into the old. For orange peel, let it dry and paint. For knockdown, wait about ten to fifteen minutes for the splatter to set up. Then drag a wide knife across it with almost no pressure to flatten the peaks. Prime over the dried texture, then paint.
If the texture is peeling off the drywall in sheets, that is water getting behind it. Spraying new texture over the problem just hides it for a season. Find the leak first.
What Mistakes Should I Avoid When Patching Drywall?
The same seven, every time. Each one is easy to avoid once you know it is coming.
- One thick coat instead of three thin ones. Thick mud shrinks, cracks, and takes days to dry in humidity.
- Skipping primer. Every patch that shows through the paint skipped this step.
- Sanding too hard. Fine grit and a light touch. Aggressive sanding scuffs the paper around the patch and makes a bigger repair.
- Cutting without looking. Wires and pipes live behind drywall, especially near outlets, switches, and bathrooms. Look in the hole before you cut it bigger.
- Patching over water damage. Soft, stained, or bubbled drywall means moisture. Fix the leak and replace the wet board. Mud over it and the stain comes back through the paint.
- Using a mesh patch on a hole bigger than your fist. It will crack. Cut in a new piece of drywall.
- Forgetting popped nails. A popped nail head is a bump that shows through paint. Drive it back or replace it with a screw an inch away, then fill both.
When Should I Stop and Call?
When the hole is bigger than a dinner plate, on a ceiling, wet, or on a smooth-finish wall where every flaw shows. Repairing drywall is a real Saturday skill, and a nail hole or a doorknob strike is a fair fight. Some jobs are not, and knowing the line is worth more than any tutorial. A whole house of dings before a sale is another one that usually ends up with our handymen, often after a first attempt.
Here is what that visit looks like. Our own craftsmen cut out the damage, set a proper patch, apply joint compound in thin coats, and blend the texture into the surrounding wall so the surface reads as one again, primed and paint-ready or painted to match. Drywall repair gets one price in writing for the whole list and a one year warranty. If the board is soft or stained, water damage repair starts once the leak is fixed. If your first try still shows, we are glad to cut it out and do it right, and nobody on the handyman will say a word about the first try. Everything else on your list, from doors to fixtures, fits the same visit through our handyman services.