
What Do I Need to Fill Nail Holes?
Less than the cost of lunch at the hardware store, and most of it is probably in a drawer already.
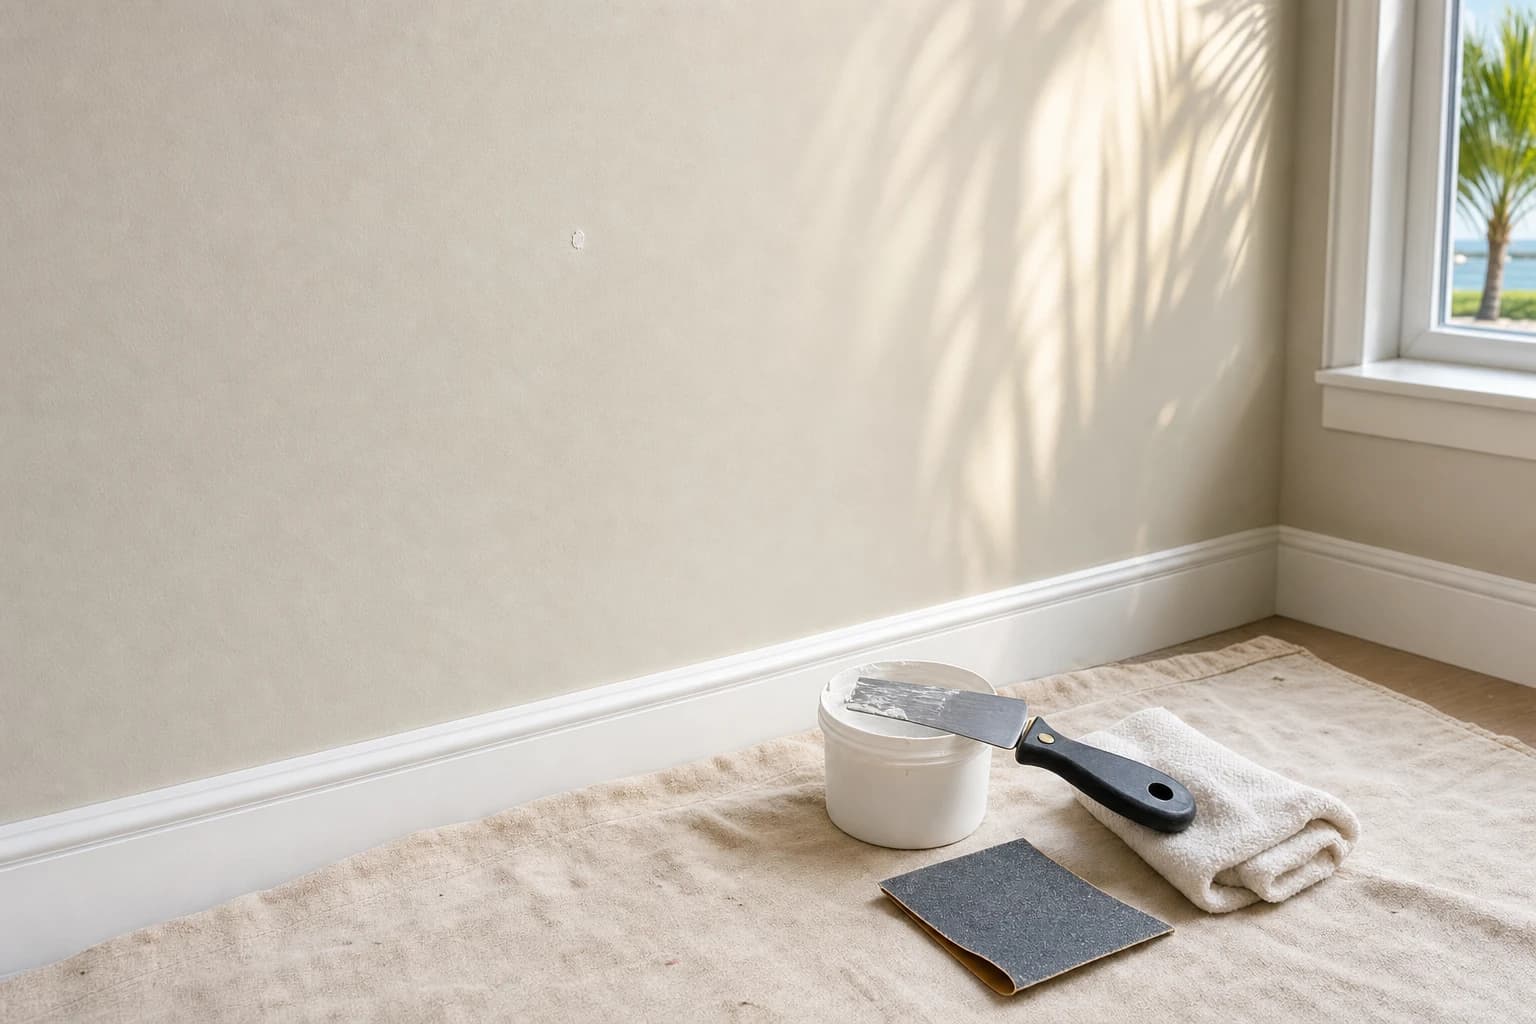
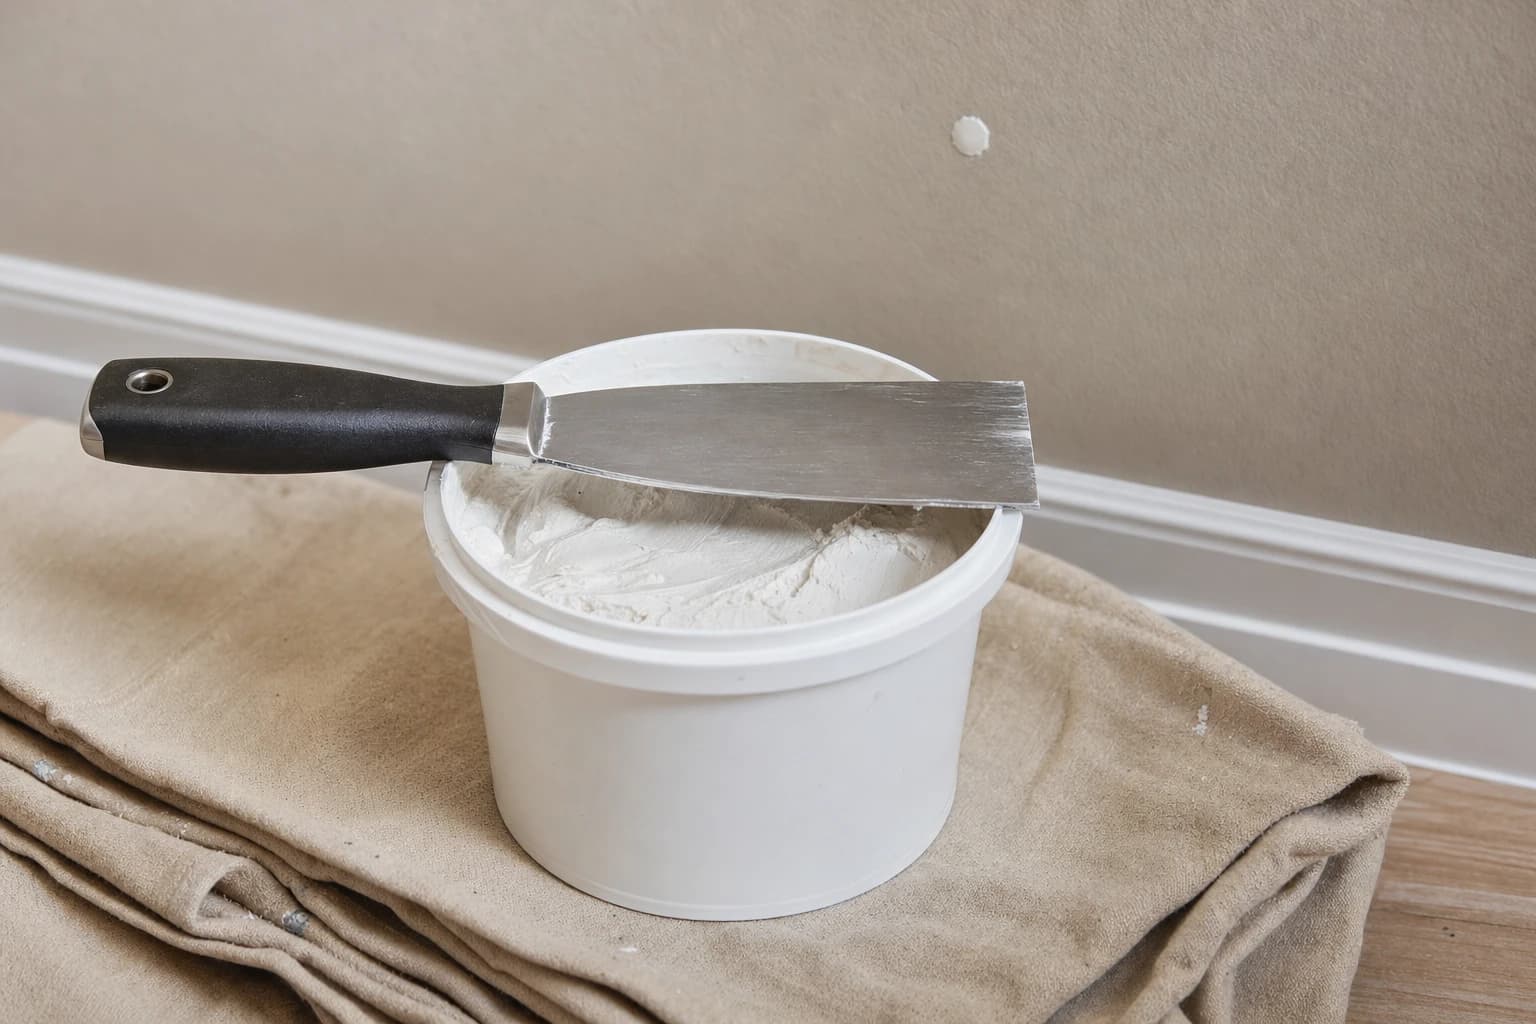
- Lightweight spackle. A small tub is enough for an entire wall of holes. The pink-to-white kind tells you when it is dry, which helps.
- A 1- or 2-inch putty knife. A stiff plastic one works. In a pinch, a clean finger does too.
- Fine sandpaper, 220 grit, or a small sanding block.
- A damp cloth or paper towel for the dust.
- Primer and the wall color for touch up paint. If you do not have the original can, take a chip to the paint store and have it matched.
- For trim and wood: wood filler or painter's putty instead of spackle.
How Do I Fix Nail Holes in Drywall?
Five short steps, and the last one is the one that decides whether the hole disappears.
- 1
Pull the nail and flatten the crater
Take the nail or screw out. A nail pulled from drywall leaves a small raised lip of paper around the hole. Fill over the lip and the patch stands proud of the wall forever. Press the lip flat with the back of the putty knife or the rounded end of a screwdriver handle, then scrape any loose paper off.
- 2
Fill the hole
Load a small amount of spackle on the knife and press it into the hole at an angle. Then drag the blade across flat to scrape off the excess. You want a fill that is flush with the wall or a hair proud, not a mound. For a tiny nail hole, a dab on a fingertip pressed in and wiped flat is the fastest mess-free way there is.
- 3
Let it dry completely
Spackle dries in about an hour for a nail hole, longer for screw holes and in Florida humidity. If it shrinks and dimples as it dries, which deeper holes do, add a second thin coat. Do not try to fill a deep hole in one thick pass.
- 4
Lightly sand
Sand the dried spot with 220 grit until it is flush and you cannot feel an edge with your fingertip. Light pressure. Scrubbing hard scuffs the paint around the hole and turns a dot into a patch. Wipe the dust off with a damp cloth.
- 5
Prime and touch up the paint
Dab primer on the spot and let it dry, then touch up with the wall color. Feather the paint out past the spot with a nearly dry brush or a small roller so the edge fades. On white walls with flat paint this is nearly invisible. On darker colors, eggshell or satin sheens, or a wall that has faded, a touch up can show as a slightly different patch. The honest fix there is to paint the whole wall corner to corner.
What About Screw Holes and Anchor Holes?
Same idea, two thin coats instead of one. Screw holes and anchor holes are wider and deeper than a nail hole, so spackle alone shrinks back into them. Pull the anchor if you can; a screw driven partway into a plastic anchor gives you something to grab. Flatten the edges, then fill in two thin coats with drying time between.
For holes from toggle bolts or anything bigger than a pencil, cover the hole with a small self-adhesive mesh patch and coat it with joint compound, feathered a few inches past the edges. Patching drywall works the same way at every size, from a doorknob strike to a whole new piece of board.
| Hole | Use | Coats |
|---|---|---|
| Nail hole | Lightweight spackle | One, sometimes two |
| Screw hole | Lightweight spackle | Two thin coats |
| Anchor hole | Pull the anchor, then spackle | Two thin coats |
| Bigger than a pencil | Mesh patch and joint compound | Two or three, feathered |
| Trim and wood | Painter's putty or wood filler | One, after priming |
| Nail pop | A drywall screw first, then spackle | One on each spot |
Which filler for which hole
Why Is a Nail Coming Out of My Wall?
The framing behind it dried and moved. A nail pop is a bump or a crescent-shaped crack where a drywall nail is backing out of the stud. You will see a few in almost every house and more in a new one. They are normal and cosmetic. Ceilings get them too, because gravity helps the nail along.
The fix is not to fill the bump. Drive a drywall screw into the stud about an inch above or below the popped nail to pull the board tight. Then either drive the popped nail back in or pull it out. Fill both spots, sand, prime, and paint. Fill the bump without refastening the board and the pop comes back within a season.
Does Toothpaste or Bar Soap Work Instead of Spackle?
For about as long as it takes to snap a photo. Toothpaste, a bar of soap rubbed over the hole, and baking soda mixed with glue all fill the hole for an afternoon. Toothpaste shrinks and yellows. Soap smears the first time the wall is wiped. None of them takes primer or paint the way spackle does.
If you are moving out of a rental tomorrow and want the holes gone in a picture, fine. If the wall is yours, spend the few dollars on a tub of spackle and do it once.
Caulk is the other common substitute, and it is wrong for a different reason. It stays flexible, cannot be sanded, and flashes under paint. Caulk belongs in the gap where trim meets the wall, not in a hole in the wall.
How Do I Fill Nail Holes in Trim, Plaster, or Textured Walls?
Trim takes putty, not spackle. Wood trim, baseboards, and crown molding move with the seasons, and spackle cracks out of them. Painters press painter's putty or wood filler in with a finger after priming, wipe it flush, and paint over it. On stained wood, use a color-matched filler or a wax fill stick so the repair blends with the grain.
Plaster walls in older Florida homes fill the same way as drywall for a nail hole. Plaster tends to chip around the hole, so flatten and fill any chipped edge too, and expect a second coat.
On textured walls, keep the fill inside the hole. Wipe the excess off the texture with a damp cloth before it dries. Touch up with a dabbing motion instead of a brush stroke, so the texture pattern is not painted smooth.
Should I Fill Nail Holes Before I Move Out or Sell?
Yes, and do the whole wall at once. A wall of nail marks from a gallery wall reads as damage to a landlord and to a buyer, and the fix costs almost nothing. Pull every nail, fill every hole, one sanding pass, one round of touch ups.
Dozens of holes, a sheen paint that will not touch up cleanly, or a custom color you cannot match change the answer. Painting the entire wall is faster and looks better than forty touch up spots. That is also the point where it becomes an afternoon for our painters, often bundled with the rest of the move-out list, and we are glad to take that list off your hands. Anything else on the move-out list is handyman work too, and one handyman does all of it.